Node Unblocker for Web Scraping

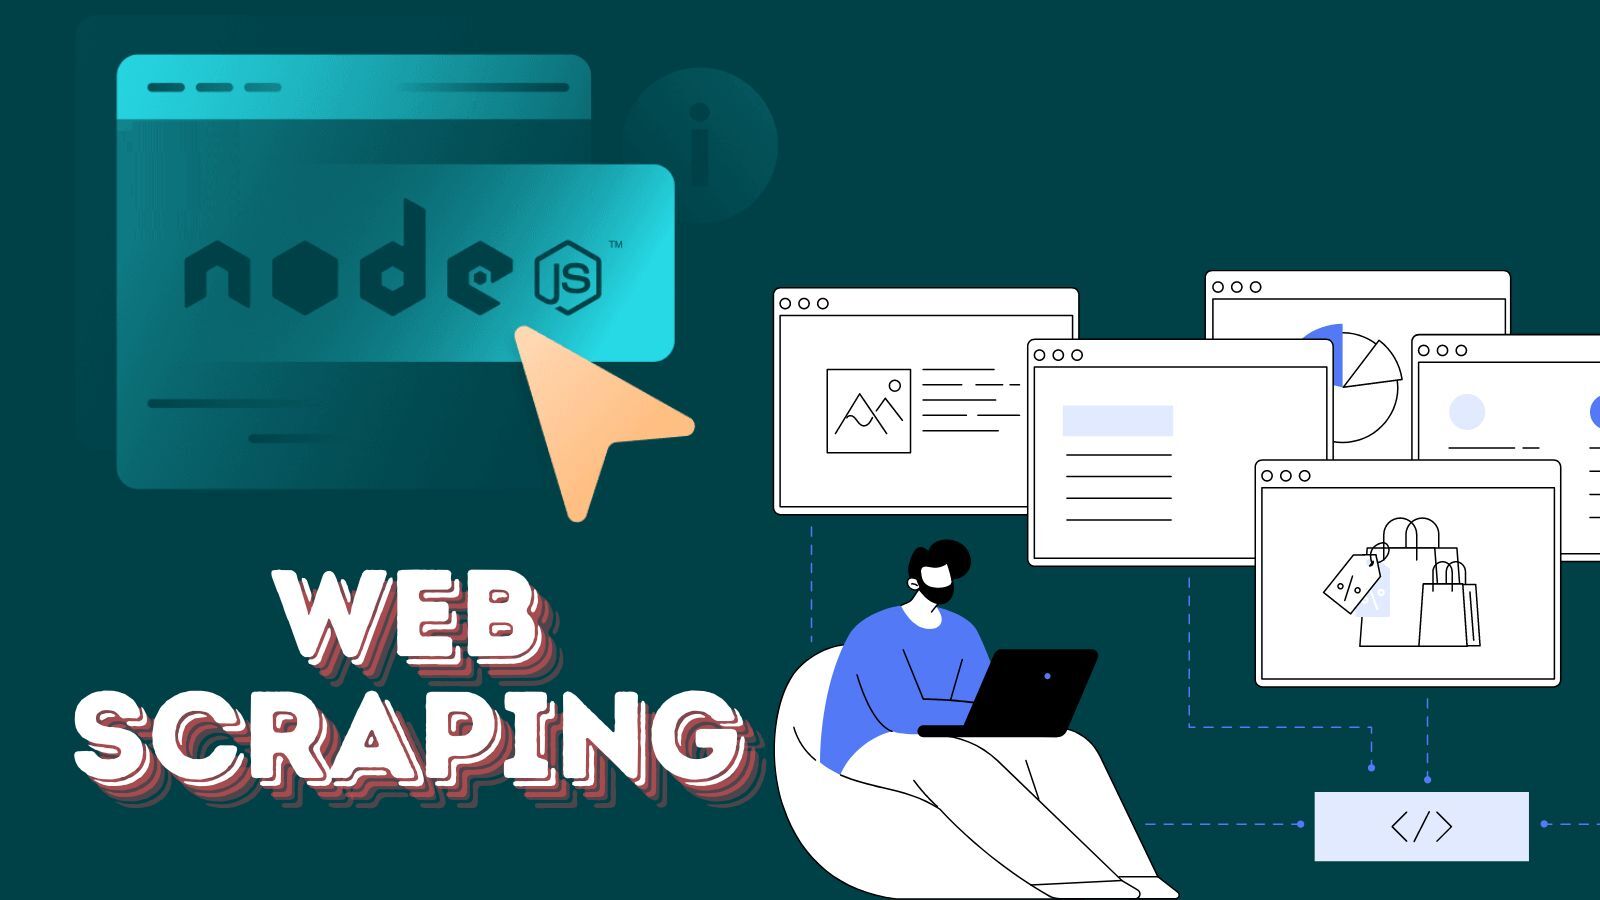
Web Scraping with NodeJS — an Overview

NodeJS has one of the best support for web scraping. There are multiple methods supported, depending on the available data when a page is loaded and the complexity of the page. However, I will discuss just two, which you can use in all of the cases.
- Scraping Static Pages
Static pages have all of their content returned when you send a web request for them. These are the easiest to scrape as all you need is an HTTP client library to request a page and a parser to parse the required data out of the HTML downloaded by the HTTP client library. If your target is a static page, you can use the Axios HTTP client library to send the web request and Cheerio to parse out the specific data point you need. With these combos, you are able to scrape all kinds of static pages.
- Dynamic Web Pages
Unlike in the case of static pages, the content of a dynamic page does not load at once. After the initial load, Javascript worked in the background and began loading the other content. Some of the content gets loaded once an action such as clicking a button or scrolling is taken. For these kinds of pages, you can’t use an HTTP client in the standard manner. The best way to scrape them is to use a browser-automating library like Puppeteer which provides APIs for automating Chrome. Using this, you are able to automate Chrome to access and load all of the content of a page before scraping it. It does have support for automating user actions such as clicking, scrolling, and filling out forms, among others.
Relevance of Node Unblocker for Web Scraping
The Node Unblocker is a web proxy for evading censorship online. But how can you use it for web scraping and what are its specific features that make it possible? First, it number one use case for web scraping is for bypassing censorship and this is because it acts as an intermediary between clients and web servers. To truly evade the block, you will need more than a Node Unblocker as you need a real proxy server that will provide you with IP addresses. When you use a Node Unblocker with proxies, you can control a lot due to its customization option.
You can customise Node Unblocker with middleware which you can use to alter requests and responses to and from the server. You can set custom rules depending on your target websites and even customize request headers. This customization support together with its support for a real proxy service is what makes it powerful as a web scraping tool. It is quite fast, easy to use, and also supports multiple protocols.
How to Use Node Unblocker for Data Collection

Below is a step-by-step guide on how to use the Node Unblocker tool to scrape the list of US states from the Drupal website at https://www.drupal.org/node/332575. I assume you already have NodeJS installed on your computer. If you do not, you can head over to the official website of NodeJS and download the latest version so you can follow up with the guide.
-
Initialise a New NodeJS project
You need to create a new Node.js project to get started. To do this, go to your command line (Windows) or Terminal (macOS and Linux) and navigate to the Desktop. If you don’t know how to do that, you need to learn how to. To navigate to your home page, run the following commands.
cd ~

cd Desktop
Then create a new directory named node-example using the mkdir command as follows.
mkdir node-example
Alternatively, just go to your desktop and create a new folder named node-example, and then launch your Terminal/command prompt and navigate to the folder.
With the above, you can now initialize a new project with the command below
npm init—y
This will convert the directory/folder into a nodeJS application folder.
-
Install Dependencies
For us to successfully carry out the scraping of the US states from the https://www.drupal.org/node/332575 website, we need to install certain dependencies. Some of these include ExpressJS, unblocker, Axios, and Cheerio. You can install each individually or install all in a single command. Below is the single command for installing all of these at once. I will discuss each of them briefly after the command.
npm install express unblocker Axios, cheerio
ExpressJS — This is a web server framework for developing web applications in NodeJS. It will be the server for the Node Unblocker tool.
Node Unblocker — This has already been discussed above, it is the web proxy.
Axios — This is an HTTP client. You use this for sending web requests and receiving the response. It is highly customizable and perfect for scraping static pages just like the target site for this guide.
Cheerio — This is an HTML parser. I will use this to parse and extract the US states names from the returned response from the request sent by Axios.
-
Create Web Proxy Using Unblocker
With the above, all you have to do is use ExpressJS and Node Unblocker to create the web proxy server. Below is a sample code that works. In reality, you will need something more robust that is robust and meant for a production environment. Create a new file named nodeserver.js in the project root directory.
// import required dependencies

const express = require("express");

const Unblocker = require("unblocker");

const app = express();

const unblocker = new Unblocker({ prefix: "/proxy/" });

const port = 3000;

app.use(unblocker);

app.listen(port).on("upgrade", unblocker.onUpgrade);

console.log(`proxy running on http://localhost:${port}/proxy/`);
As you can see above, I imported the dependencies which include both ExpressJS and Unblocker. If you look at the code above, the line where I created a new Unblocker object, there is an object passed as a parameter with the {prefix: “proxy”}. This is a configuration setting, telling the server that all requests to this URL should be routed via the unblocker.
Run the above code to see by running the following command in the Terminal/command prompt.
node nodeserver.js
-
Test Your Script
If you run the last command above, you will see the “proxy running on http://localhost:3000/proxy/”. This means the server is working. However, you need to test it out and see whether requests you send through it will pass through it or go directly to the website of Target.
To test it, you need to create a URL string which comprises both the URL for the proxy and the site you want to visit. In the case of the page holding the list of US states, it is going to be http://localhost:3000/proxy/https://www.drupal.org/node/332575.
Visit this URL and you will see the website with the list of US states open. But how possible is this when the request is via a local host? Well, right-click on any part of the page and click on Inspect Element. Choose the Network tab and reload the page. Check the network activities and see the URL the requests are sent. You will see that the request is not going to the website directly. It goes to the unblocker which then reroutes it to the website.
Because this unblocker server is on localhost, this might not help evade geo-targeting or censorship. However, if you can host this on a web server, the IP that will be used for accessing the web will now be the IP address of the host server.
-
Create The Web Scraping Script
Below is the code I use for scraping the US states. Notice how I didn’t access the page directly but only through the Node Unblocker running locally on my system.
const axios = require('axios');

const cheerio = require('cheerio');

async function scrapeStates() {

  try {

    const response = await axios.get('http://localhost:3000/proxy/https://www.drupal.org/node/332575');

    const html = response.data;

    const $ = cheerio.load(html);

    const states = [];

    $('pre.codeblock.language-php code.language-php').each((index, element) => {

      const stateText = $(element).text();

      const stateArr = stateText.split('|');

      const stateAbbr = stateArr[0].trim();

      const stateName = stateArr[1].trim();

      states.push({ abbreviation: stateAbbr, name: stateName });

    });

    return states;

  } catch (error) {

    console.error('Error fetching data:', error);

    return [];

  }

}

// Example usage:

scrapeStates().then(states => {

  console.log(states);

});
As you can see above, I imported both Axios and Cheerio libraries. The Axios was used to send HTTP requests while Cheerio was used to parse out the state name from the HTML returned. I basically just print the state name on the screen without doing anything else.
How to Make Node Unblocker Effective for Web Scraping

The power of Node Unblocker is in its Middleware which is like add-ons to modify both requests and responses, as well as set different rules for different scenarios. If you don’t have the need for any of these, there is no need to use Node Unblocker. For Node Unblocker to actually protect you against blocks, you need to provide it proxies. For web scraping, it is recommended you use rotating proxies, preferably, rotating residential proxies as they are undetectable. Bright Data and Smartproxy are affordable alternatives, used by enterprise customers and still affordable for small users. These services also offer IPs from all countries, making them great for scraping geo-targeted content.
Aside from using rotating proxies, you also need to set user agents and other headers and rotate them enough to make things random and less predictable. The top web services use more than IP addresses as they can detect scraping once your activities have a pattern that is predictable. Also, make sure you handle exceptions and handle them gracefully.